Hard Cider
It occurred to me that my experiments in homebrewing might be interesting for other people to read. While I'm still at an early stage, it seems to be a good way for people with patience and foresight to make cheap, tasty alcohol in quantity.
I had made some briefly-fermented sodas in the past, which mostly worked out well, but I didn't attempt to ferment anything fully until this summer, when my brother graciously let me make some mead on his equipment. That is to say, it started as an attempt to make honey soda, but the container didn't seal well, and we just let it go the rest of the way.
Today, I opened the first thing I've produced on my own: a gallon of hard cider, fermented to 4% alcohol. Cider is nice because it's dead simple to produce, much easier even than short mead, and far easier than beer. Here's the recipe I wound up using:
Ingredients:
- Just under a gallon of sweet cider. I used Littletree Orchards cider from the Ithaca Farmers' Market; it tastes sweeter and fresher, at least when fresh and in-season, than the seemingly more commercial cider available from Wegmans, or the Cornell Orchards, and I like supporting small local farms.
- A packet of Red Star Champagne Yeast. I can't recall if I used the whole packet or just part of it, you'll probably want at least 1/8 to 1/4 of a teaspoon, but I think the whole packet would be overkill.
- A gallon container. If your cider came in one, use it, if it didn't for some reason, make sure you sanitize your container before use.
- Some kind of air lock. I used a two-chamber S-shaped bubbler, but anything for the purpose would work. I've heard of people even using a rubber balloon, but I can't vouch for that. Bubblers aren't expensive.
- A rubber stopper with a hole that fits both your container and your bubbler.
- Clean the parts of the stopper and bubbler that are going to touch the inside of the cider. I wasn't particularly fastidious with this, but it's always a contamination risk.
- Drink a small amount of the cider to make sure there's some head room to mix air in, and to make sure it tastes fine.
- Add the yeast to the cider.
- Plug the cider with the stopper and bubbler (which should have a small amount of water in it to act as a seal), and shake the container carefully but vigorously to aerate the cider. This seems counter-intuitive, because during the rest of the process you want to keep oxygen out, but at this phase, the yeast will need oxygen to synthesize fats and reproduce, so air is good.
- Let set in a dark place. I used my closet.
- After it stops bubbling, rack it to a new container. I let it go about 3 weeks between the end of bubbling and racking because I didn't have a siphon or sanitizer yet, but you could probably do it soon after fermentation has finished (no more bubbles).
- If you want bubbly cider, or are worried about too much oxygen getting in during racking, you can add a small amount of extra sugar to the container after racking (and use a container that seals, like the screw-cap I used). I dissolved about a tablespoon of honey in a cup of water, and boiled it in the microwave. Be careful not to let too much pressure build up, or your bottle could explode.
- Let rest in total for at least a month. The longer you wait, the fewer off flavors are likely. I let mine sit for about 40 days.


Total cost: about $6, if you ignore the cost of the equipment. You could probably get away with decanting it if you didn't have a siphon, although that would risk getting more air in.
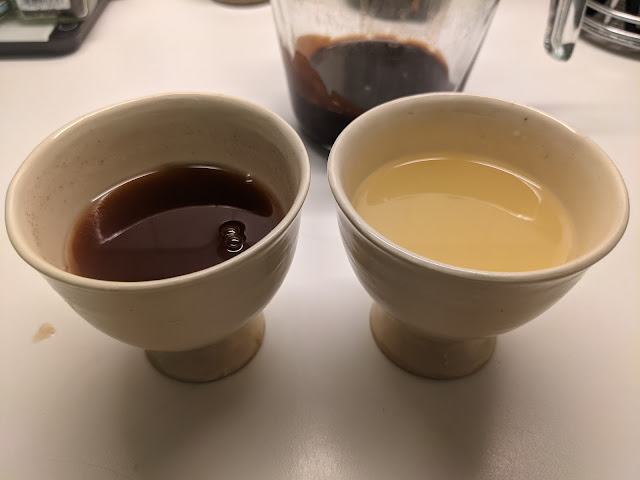
I measured the alcohol content using a portable refractometer. I measured the density of the cider before and after fermentation, performed some calculations, and determined that it has about 4% alcohol in it. Not real strong, but not too bad either!


Comments
Post a Comment